DIY: Olives
by Ree Slocum
Lifelong Homesteaders Jim Denton and Rhea Green on this particularly unpredictable fruit
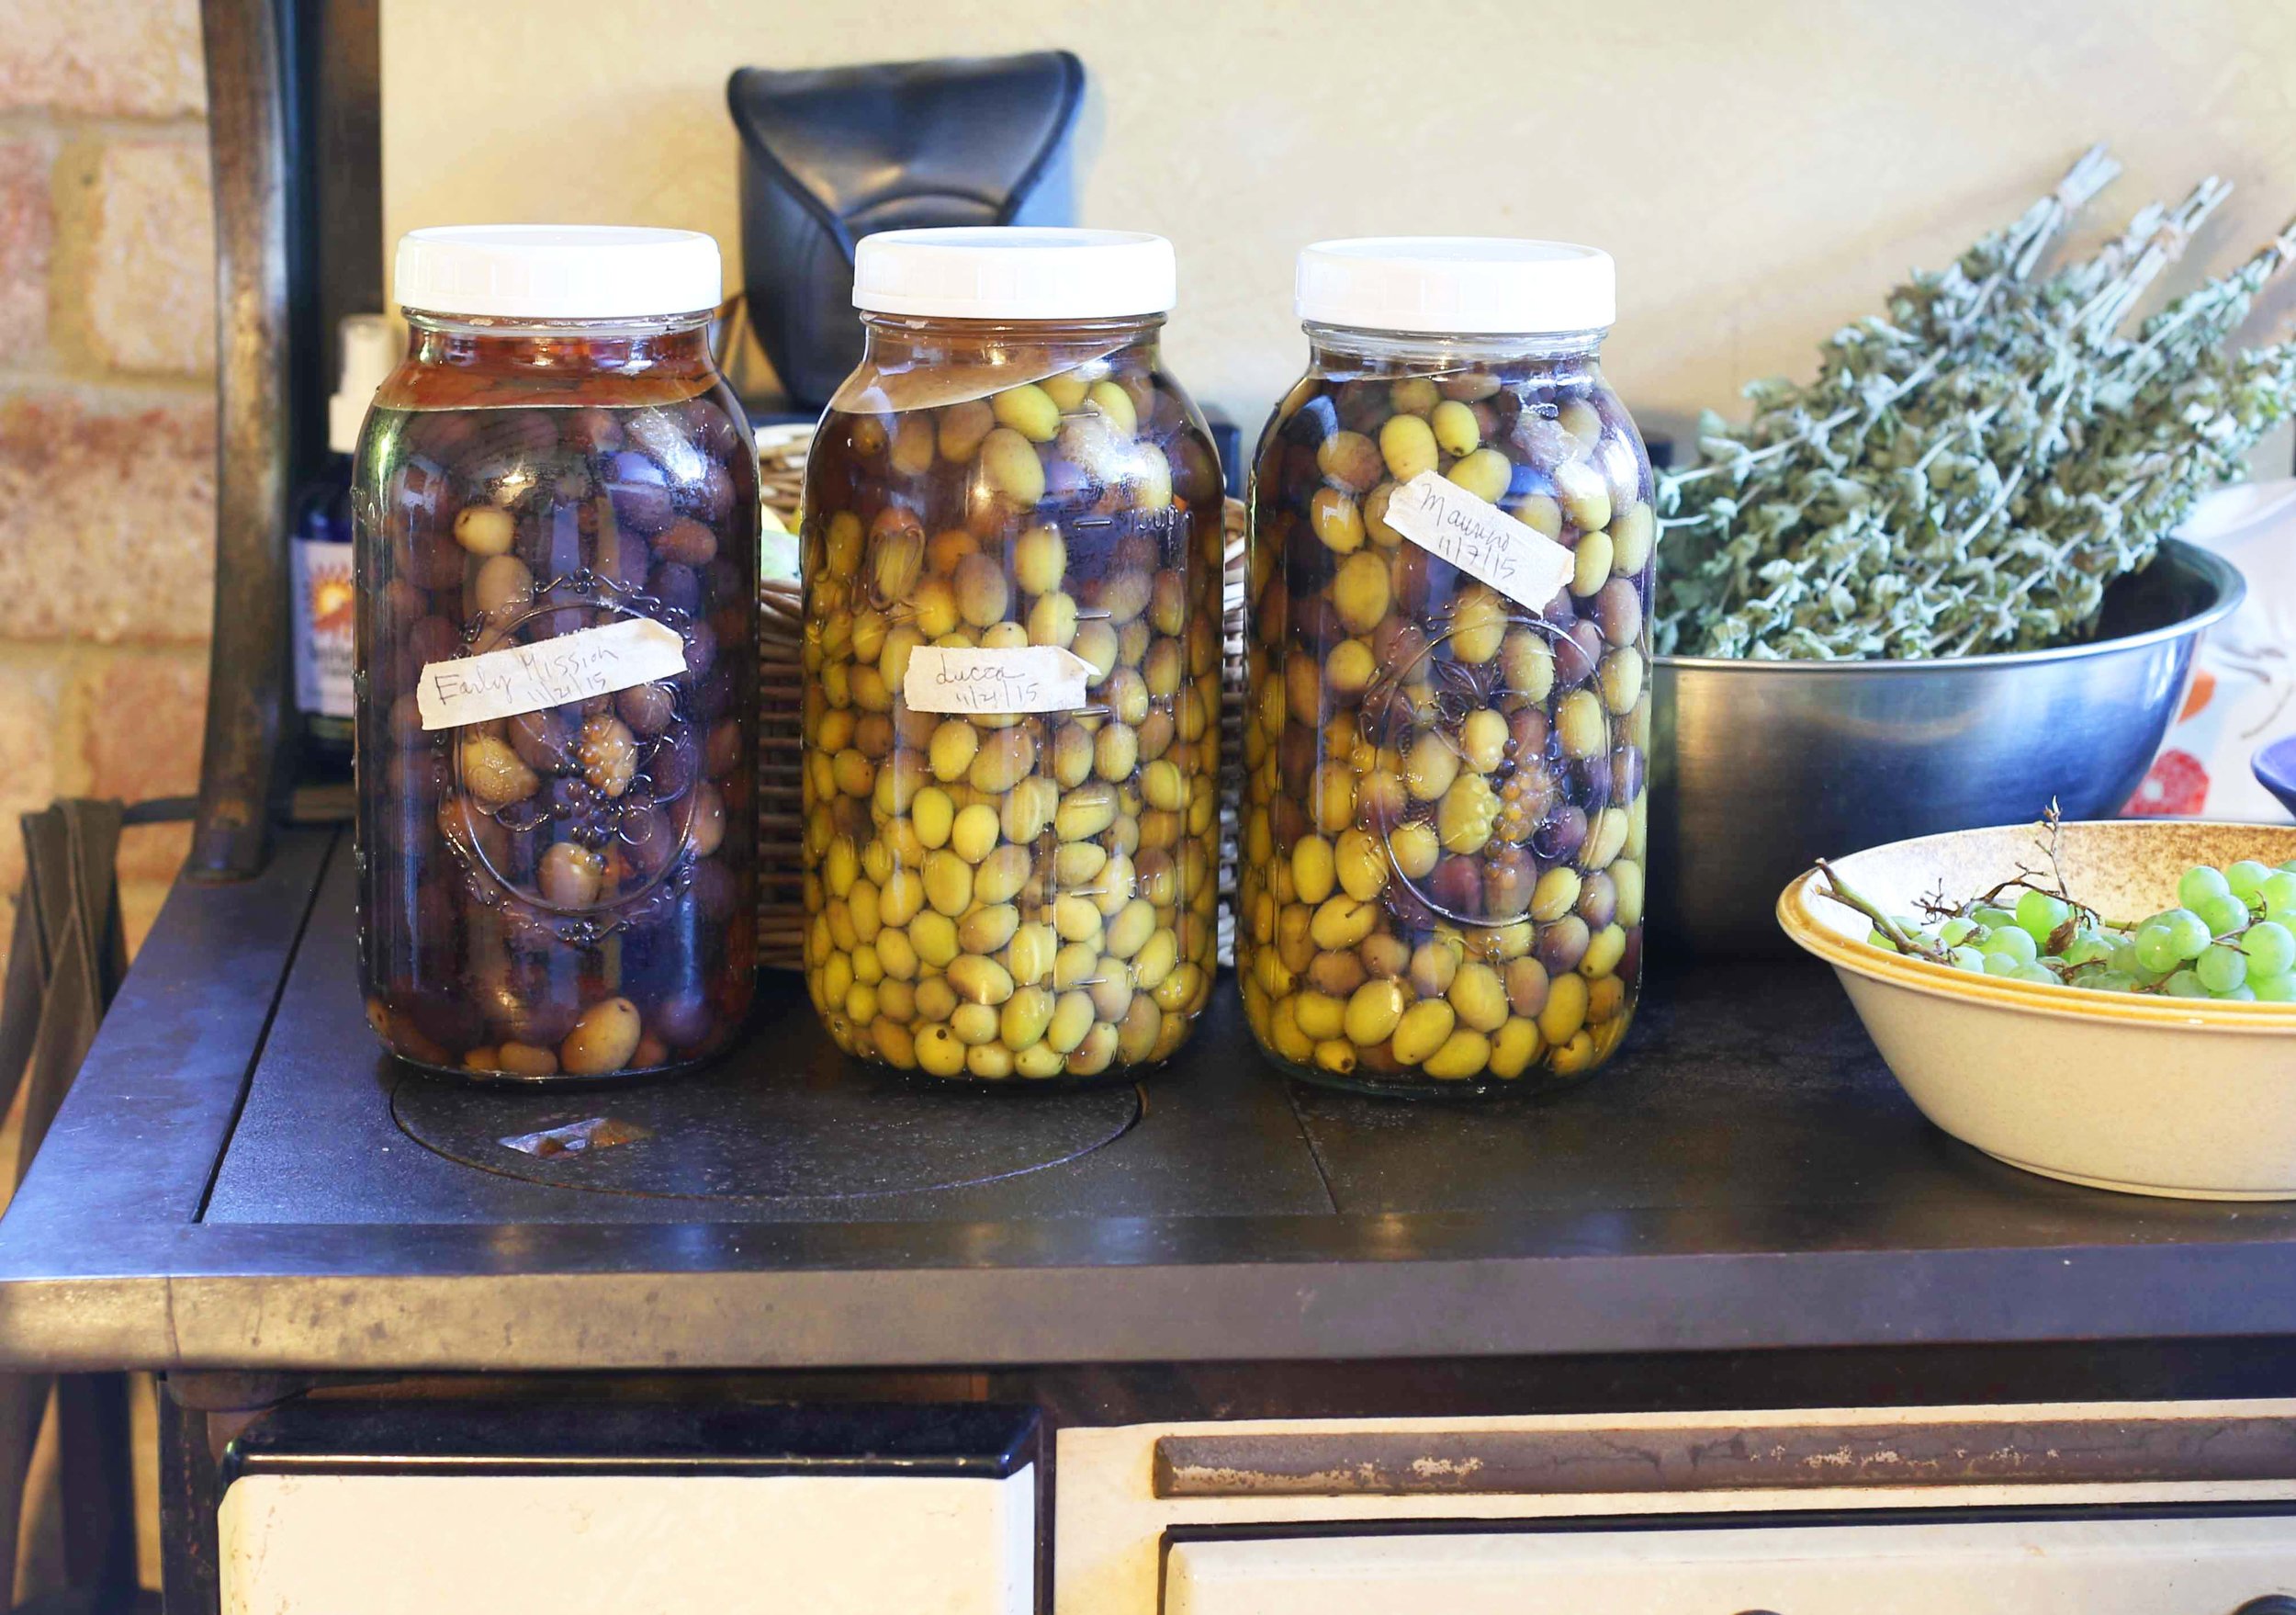
It was a blistering hot day when I visited my homesteading friends, Rhea Green and Jim Denton, on their gorgeous, Mediterranean-like property outside of Ukiah to talk about olives. Inveterate gardeners, Jim and Rhea have been growing their own food for almost forty years. They added nine varieties of olive trees to the mix in 2005. Homesteading takes the long view so their future plan is to transport the olives to a press to make their own oil. For now, because the trees are still young and don’t produce enough fruit, the couple hand harvest the olives, brine them, and use a variety of recipes to find ones that suit their tastes. They use these olives daily to garnish their meals and as one of the homegrown gifts in their yearly Winter Solstice Basket for family and friends.
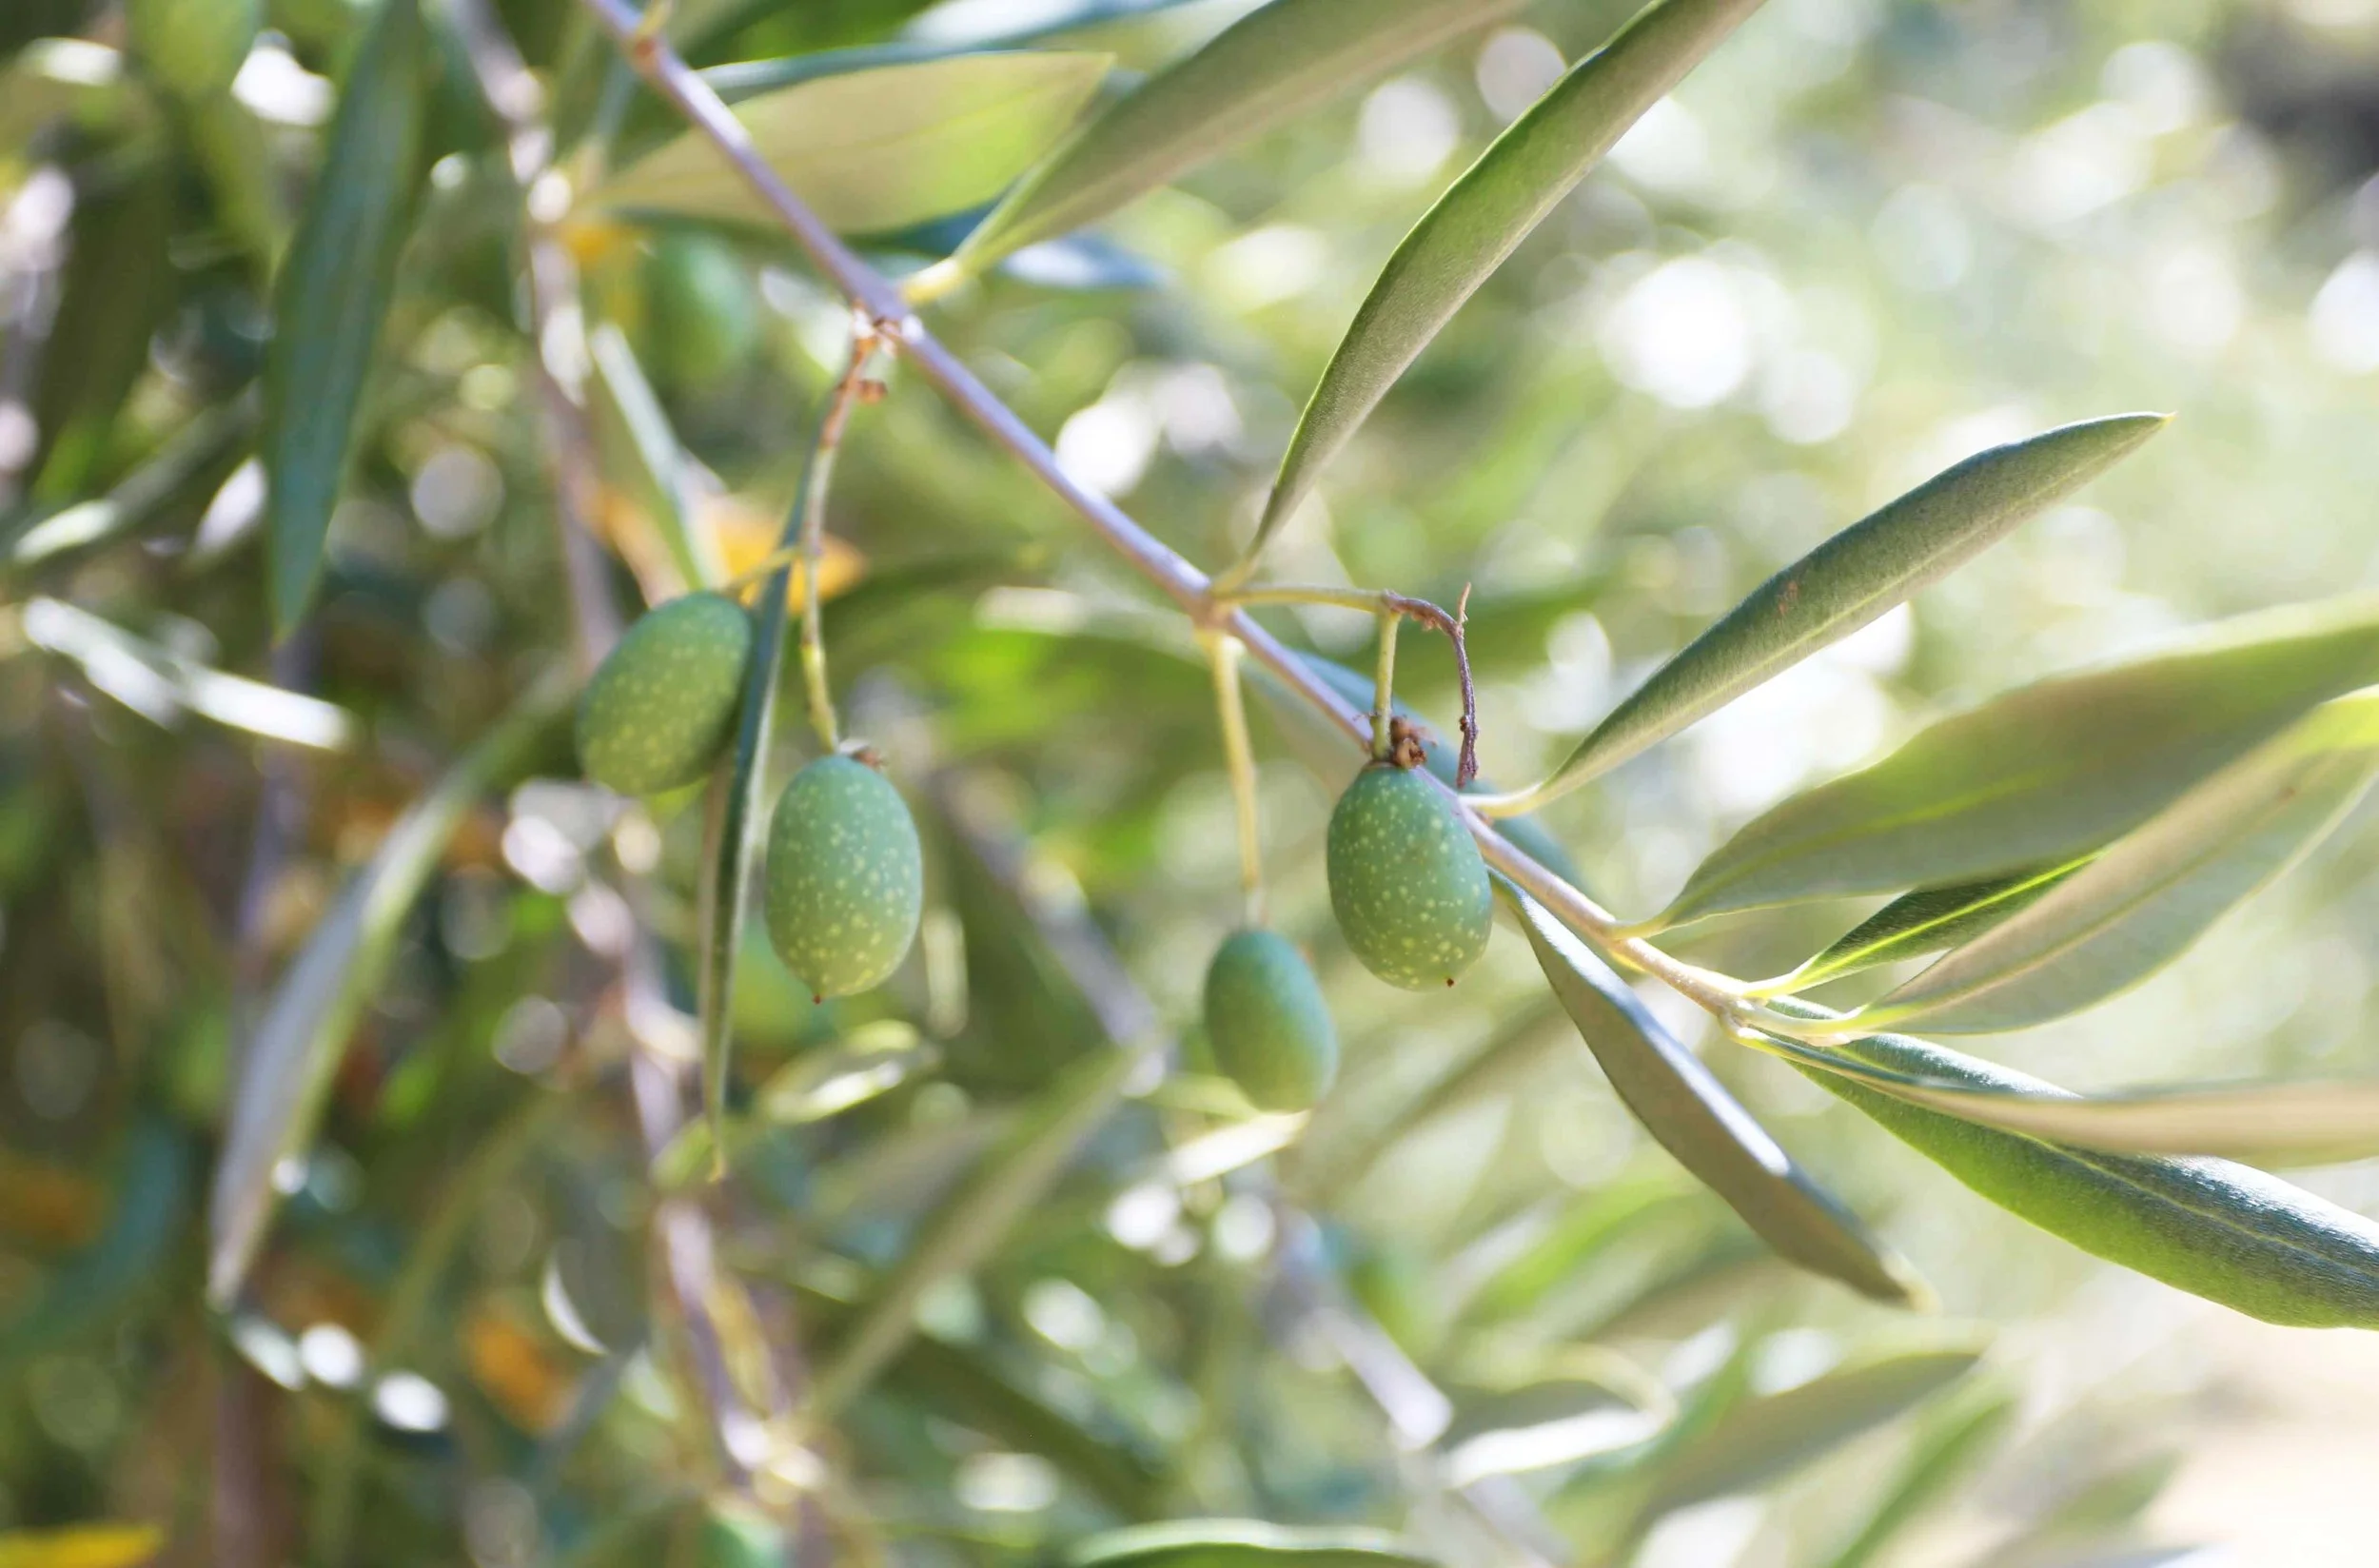
Taking refuge in the shade of their olive trees, Jim and Rhea talked to me about growing and harvesting the fruit. The weather is so changeable from year to year, that they’ve found the ripening of their olives can vary greatly from November to an unusual February. According to Rhea, “Let’s say it’s November 15th and the Luca olives on your tree aren’t uniformly ripe. You’re going to have some green, some reddish, some purple, some black. It’s time to harvest and you harvest all of them.” One year, being curious experimenters, they wanted to know what each color of olive on a tree tasted like so they grouped the colors and separately brined them. They found blacker olives definitely brined (debittered) more quickly but were mushier. Jim laughed about the totally black ones they thought would be their favorite but turned out too mushy and ended up in the compost pile. It seems the greener ones are everyone’s favorite. Now, because they enjoy the different flavors, they keep it simple by packing the jars with all the olives in their varied ripeness from the same tree.
Jim and Rhea’s Basic Brining Recipe (The science used in the brining process is a taste testing affair)
PREPARATION
Have quart jars ready with plastic lids and a disc of hard plastic (which can be cut from plastic food containers) to keep the olives submerged during brining. This is important since there will be a mold formed during processing that shouldn’t sit on the olives and will be rinsed off during the processing. Do not use metal lids nor discs since the salt in the brine will corrode the metal.
WEEK 1
rinse newly harvested olives
pack in clean and sterilized half gallon jars
add 8 oz. of salt per gallon of cool water, mix well
add mixture to olives in jars
cover the olives with a disc of hard plastic to keep them submerged during brining
protect with a “loose on” plastic lid (set the lid on the rim of the jar without tightening)
WEEK 2
• rinse olives thoroughly
• add 16 oz of salt per gallon of water, mix well
• add mixture to olives in jars
• cover the olives with the disc of hard plastic
• protect with the “loose on” plastic lid • let sit for 2 weeks
WEEK 4
• rinse olives thoroughly
• add 16 oz of salt per gallon of water, mix well
• add mixture to olives in jars
• cover the olives with the disc of hard plastic
• protect with a tight plastic lid • let sit for 4 weeks
WEEK 8 AND ON
• rinse olives thoroughly
• add 16 oz of salt per gallon of water, mix well
• add mixture to olives in jars
• cover the olives with the disc of hard plastic
• protect with a tight plastic lid
Change the brine every month until
you determine they’re no longer bitter. Depending upon the size of the olive and its ripeness, this can take from six to almost eleven months.
When debittered to your taste, drain the brine, rinse with fresh water changing the water every day or a few times a day until the saltiness is to your liking.
When seasoned to your preference, you can keep them in their brine and store them that way indefinitely (although Jim and Rhea usually use them within two years).