Say Labneh!

Fresh, Delicious, and Surprisingly Easy Homemade Cheese
by Lisa Ludwigsen
A bite of carefully crafted cheese evokes its place of origin and the people who made it. The complex flavors can be a full-body experience, engaging all the senses. Or maybe that’s just how I experience good cheese. Even a simple fresh cheese made in your kitchen can be transcendent, and it is surprisingly easy to make. A handful of everyday ingredients and a little patience yields a delectable and versatile addition to a meal or snack. Fresh homemade cheeses are almost always mild and uncomplicated, making them particularly kid friendly. Kids can dive right into a cheese-making project around the kitchen table.
My interest in homemade cheese was sparked many years ago after an aikido class. On a bench by the door, the sensei’s young daughter would set up a little produce shop, selling the harvest from her garden. She would set out berries, lettuce, zucchini, and tomatoes. It was hard to resist her big brown eyes and beautiful produce. Sometimes, off to the side, she had small cellophane-wrapped packets of cheese made that day from the milk of the family’s goats. The only additives were lemon and salt. The cheese was room temperature, creamy, fluffy, and fragrant. It carried in it the essence of the grass, earth, and sky above the rolling northern California hills. It was so fresh and delicious that I couldn’t resist eating it all on my drive home. That sweet 9-year-old girl taught me that fresh cheese could be simple, delicious, and nourishing, for body and soul.
One of my favorite homemade cheeses is labneh, a traditional Middle Eastern cheese made by straining yogurt until it has a consistency between a thick spread and a soft cream cheese. It is typically seasoned with savory spices and served as a dip or spread.
While some cheese requires heating the milk and adding a coagulant like rennet or lemon, labneh happens by simply hanging whole milk Greek or European style yogurt to remove the liquid. Greek yogurt is preferred because of its thickness and lower moisture, and using whole milk yogurt is a must.
The following recipe for labneh is inspired by the cookbook, Home Made, by Yvette van Boven, which features a chapter on homemade cheese-making. Like all recipes, it’s more fun to make with friends, so I enlisted a couple of young neighbors to help me out.
Labneh Balls with Herbs in Olive Oil
INGREDIENTS
• 4 cups plain, whole-fat Greek or European-style yogurt
• 2 cloves garlic, crushed
• 1 teaspoon salt
• ½ teaspoon black pepper or red pepper flakes
• ½ cup dried herbs: basil, parsley and/or herbs de
provence
• Approximately 3 cups olive oil
• Lemon zest, small dried chiles, or other spices
• Cheesecloth or large dish towels or even a large square
of an old clean sheet
• Visually appealing jar for storing the cheese balls
INSTRUCTIONS
In a medium bowl, mix yogurt, garlic, salt, and pepper. Line a colander or sieve with four layers of cheesecloth placed cross width. The pieces should be large enough to gather and tie a knot at the top.
Pour the yogurt into the center of the cheesecloth and let it drain for a few minutes. Depending on the type of yogurt used, you may see a lot of liquid coming out.
Gather the corners of the cheesecloth and tie a sturdy knot at the top. Gently push the yogurt to the bottom of the bundle. Hang over a bowl (to catch the liquid) in a cool spot for three to four days. You’ll notice the yogurt becoming smaller and firmer each day, as liquid drains from the yogurt. A couple of times a day, squeeze the yogurt to release more liquid and form into a cohesive ball.
After three days, the ball will be significantly smaller, firmer, and a bit flatter. Peel or cut away the cheesecloth to reveal the pretty ball of cheese inside. It’s labneh!
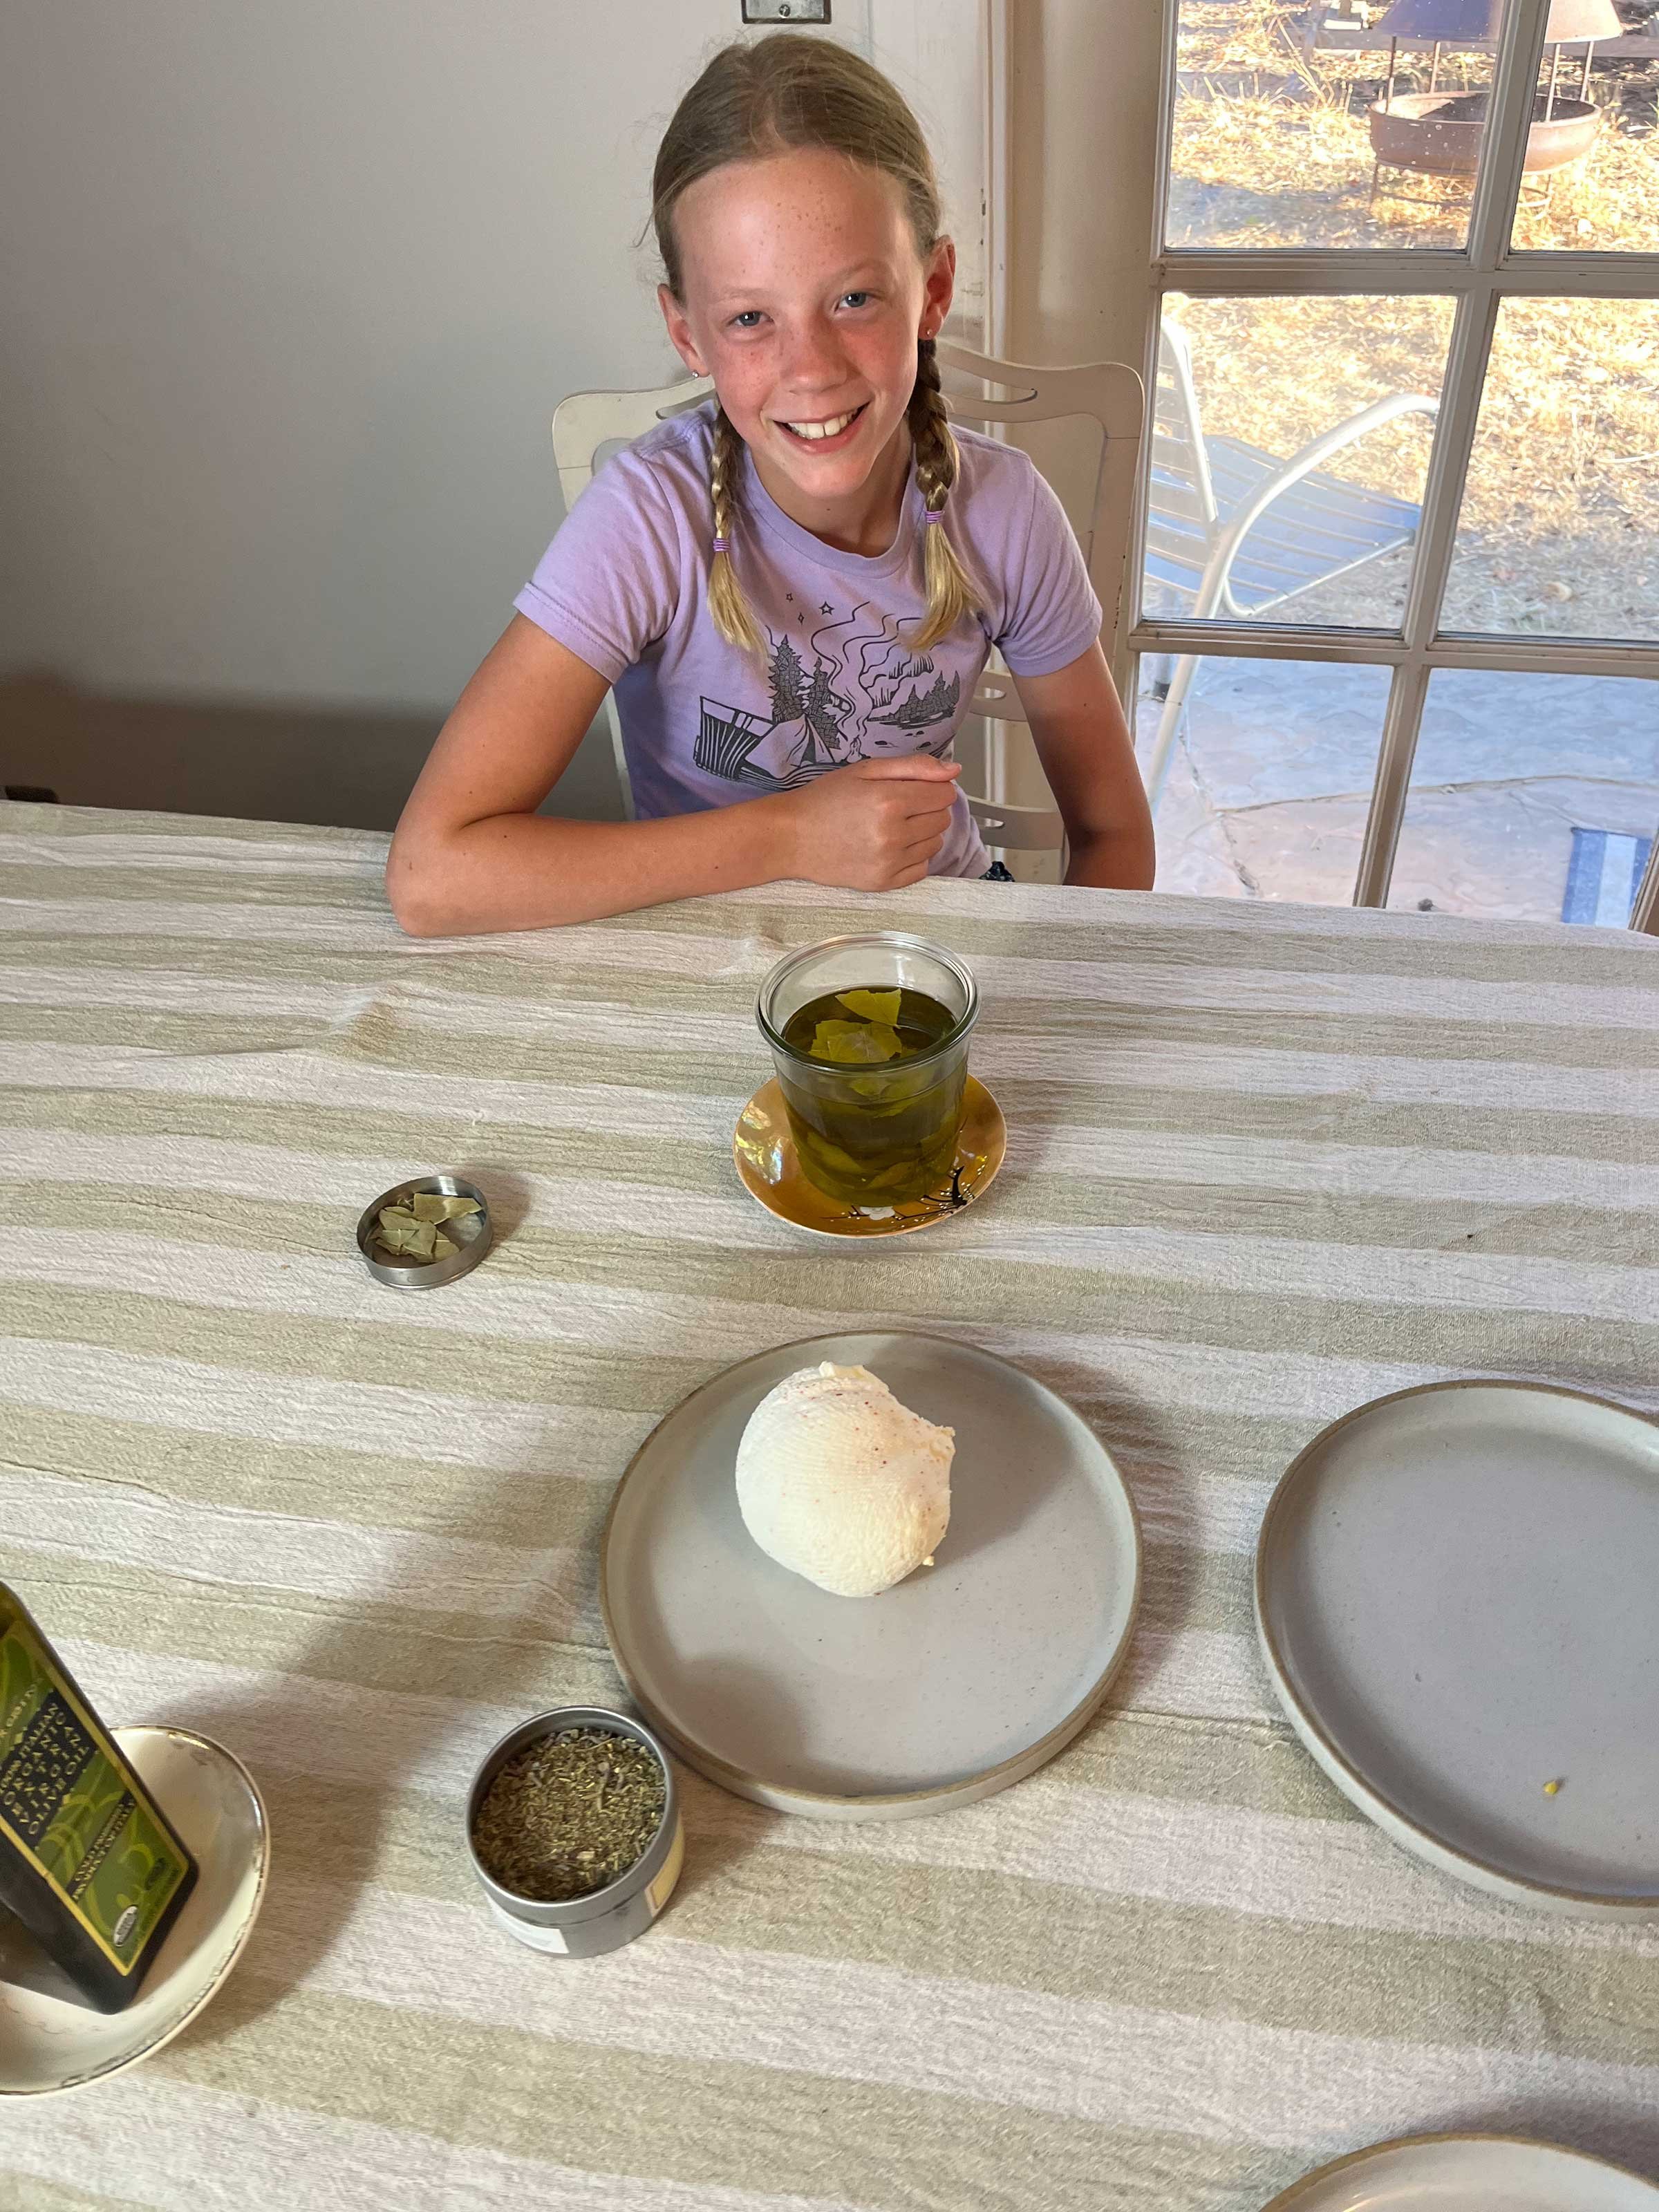
Now for the fun, kid-friendly project. I invited my two favorite neighbors, Axel and Abby, to give me a hand: Fill an attractive jar 2/3 full with olive oil. The jar will need to be large enough to hold about 20 small balls without pushing them down. Add lemon zest or dried chilies.
Onto a plate or flat bowl, sprinkle a layer of dried herbs.
Cut or break the ball into large pieces that kids can easily handle. The small balls will be made from these pieces. Roll about two tablespoons of the cheese into a ball roughly the size of a walnut. With kids, the balls won’t be uniform, which is great.
Roll each ball into the herbs, making sure to press hard enough that the herbs stick.
Gently place the balls into the jar (I use a spoon). Make sure the oil completely covers the cheese.
Store the jar on the counter if the cheese will be eaten within a week, and in the refrigerator for longer term storage. The oil will solidify if the jar is kept in the refrigerator, so you’ll need to leave it on the counter to warm up.
Serve as an appetizer with crackers and a glass of wine, with fruit, or as part of a post-dinner cheese course. Because kids almost always eat food that they’ve prepared, they’ll welcome a labneh cheese ball or two with a piece of fruit after school.
In a pretty jar, they also make great hostess or holiday gifts.
Homemade labneh is so easy and satisfying you may be encouraged to try making other cheeses at home. The world is full of possibilities to share with family and friends. Give it a try!


